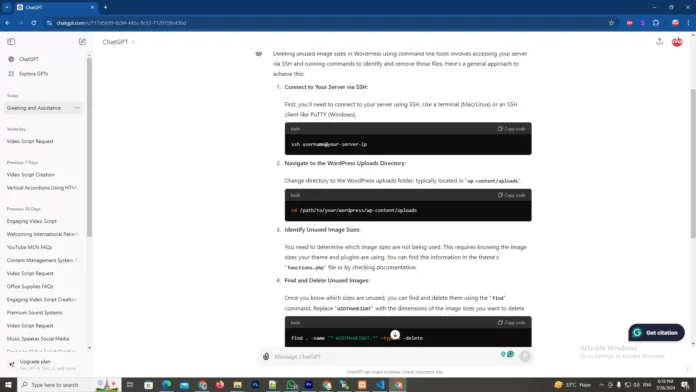
Deleting Unused Image Sizes in WordPress Using Command Line Tools: A Simple Guide
WordPress is one of the most popular content management systems used by bloggers, businesses, and organizations to create and manage their websites. One of the reasons for its popularity is its user-friendly interface and various customization options. However, as your website grows and you keep adding new content, you may notice that your server is getting cluttered with unused image sizes. This not only takes up unnecessary space on your server but also slows down your website’s loading time. In this article, we will discuss how to delete these unused image sizes in WordPress using command line tools.
Step 1: Access Your Server via SSH
To delete the unused image sizes, you will need to access your server via SSH (Secure Shell). This will allow you to run commands on your server and perform administrative tasks. If you are not familiar with SSH, you can ask your web hosting provider for assistance.
Step 2: Identify the Unused Image Sizes
Once you have accessed your server, the next step is to identify the unused image sizes. To do this, you can use the WP-CLI tool, which is a command line interface for WordPress. If your server already has the WP-CLI tool installed, you can skip the installation step. Otherwise, you will need to install it by following these steps:
1. Download the WP-CLI tool from their website using the command:
wget https://raw.githubusercontent.com/wp-cli/builds/gh-pages/phar/wp-cli.phar
2. Make it executable using the command:
chmod +x wp-cli.phar
3. Move it to a location accessible to all users using the command:
sudo mv wp-cli.phar /usr/local/bin/wp
Once the WP-CLI tool is installed, you can use it to identify the unused image sizes on your server. To do this, run the command:
wp media regenerate –only-missing
This command will scan your media library and generate thumbnails for any images that do not have them. It will also display a list of unused image sizes that can be deleted.
Step 3: Remove the Unused Image Sizes
Now that you have identified the unused image sizes, it’s time to remove them from your server. To do this, you can use the WP-CLI tool again. Run the command:
wp media regenerate –only-missing –yes
This command will delete the unused image sizes and regenerate the thumbnails for any images that still need them. You can also specify the specific image sizes that you want to delete by using the –size flag. For example, if you only want to delete the ‘medium’ and ‘large’ image sizes, you can use the command:
wp media regenerate –only-missing –size=medium,large –yes
Step 4: Verify and Clean Up
After running the commands, it’s important to verify that the unused image sizes have been successfully deleted. You can do this by checking your media library and making sure that the thumbnails are only generated for the image sizes that you need. You can also check your server’s storage to see if there has been any decrease in the amount of space occupied by image files.
Once you have verified the deletion of the unused image sizes, it’s recommended to clean up your server to free up more space. You can do this by deleting any unnecessary files and optimizing your database.
Conclusion
In this article, we discussed how to delete unused image sizes in WordPress using command line tools. This method is not only quick and efficient but also ensures that your website’s performance is not affected by unnecessary files. By regularly deleting unused image sizes, you can keep your server clean and organized, and improve your website’s loading time. We hope this simple guide has helped you in managing your WordPress media library effectively. Happy blogging!

